
AI Assistant booking form
Bookly AI Assistant lets customers book appointments through a chat instead of a step-by-step booking form.
They can ask about services and staff, check availability, select extras, and create an appointment in one conversation.
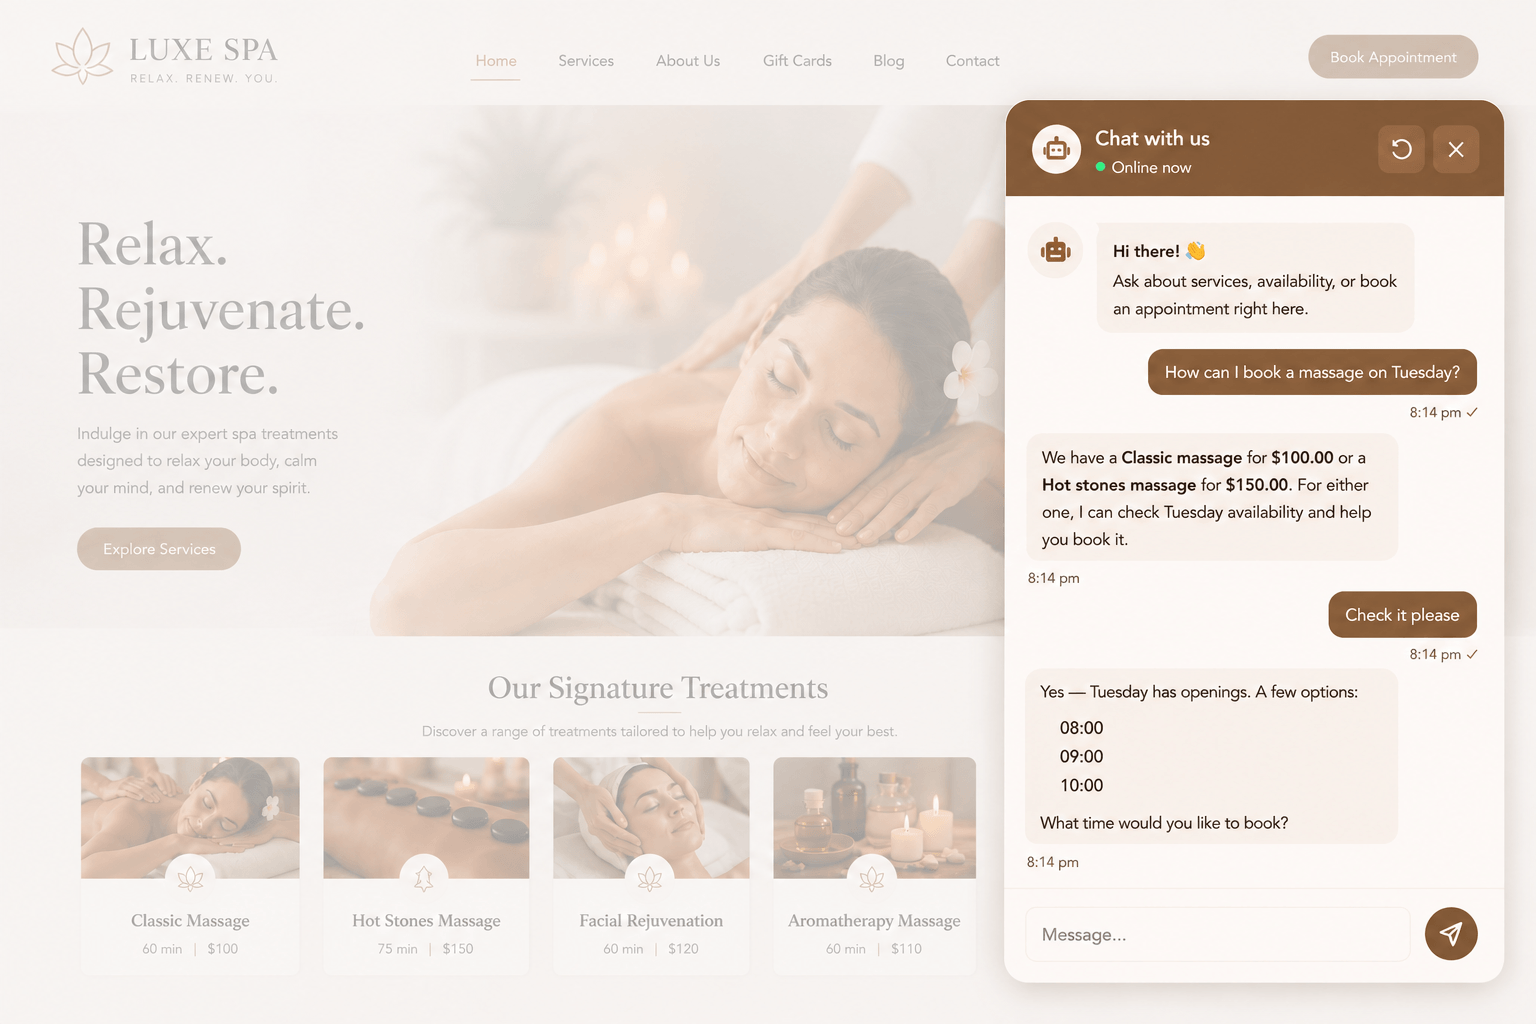
The Assistant uses your existing Bookly configuration and works through Bookly Cloud. No separate AI provider accounts, API keys, or custom integrations are required.
This gives customers a simple 24/7 way to book directly on your website.
What can AI Assistant do?
Section titled “What can AI Assistant do?”Bookly AI Assistant helps customers:
- Learn about available services and staff members
- Check available dates and time slots
- Select a suitable time slot
- Add extras to their booking
- Create an appointment directly in the chat
Bookly AI Assistant supports the Service Extras (Add-on), so customers can add available extras during the conversation.
Payments
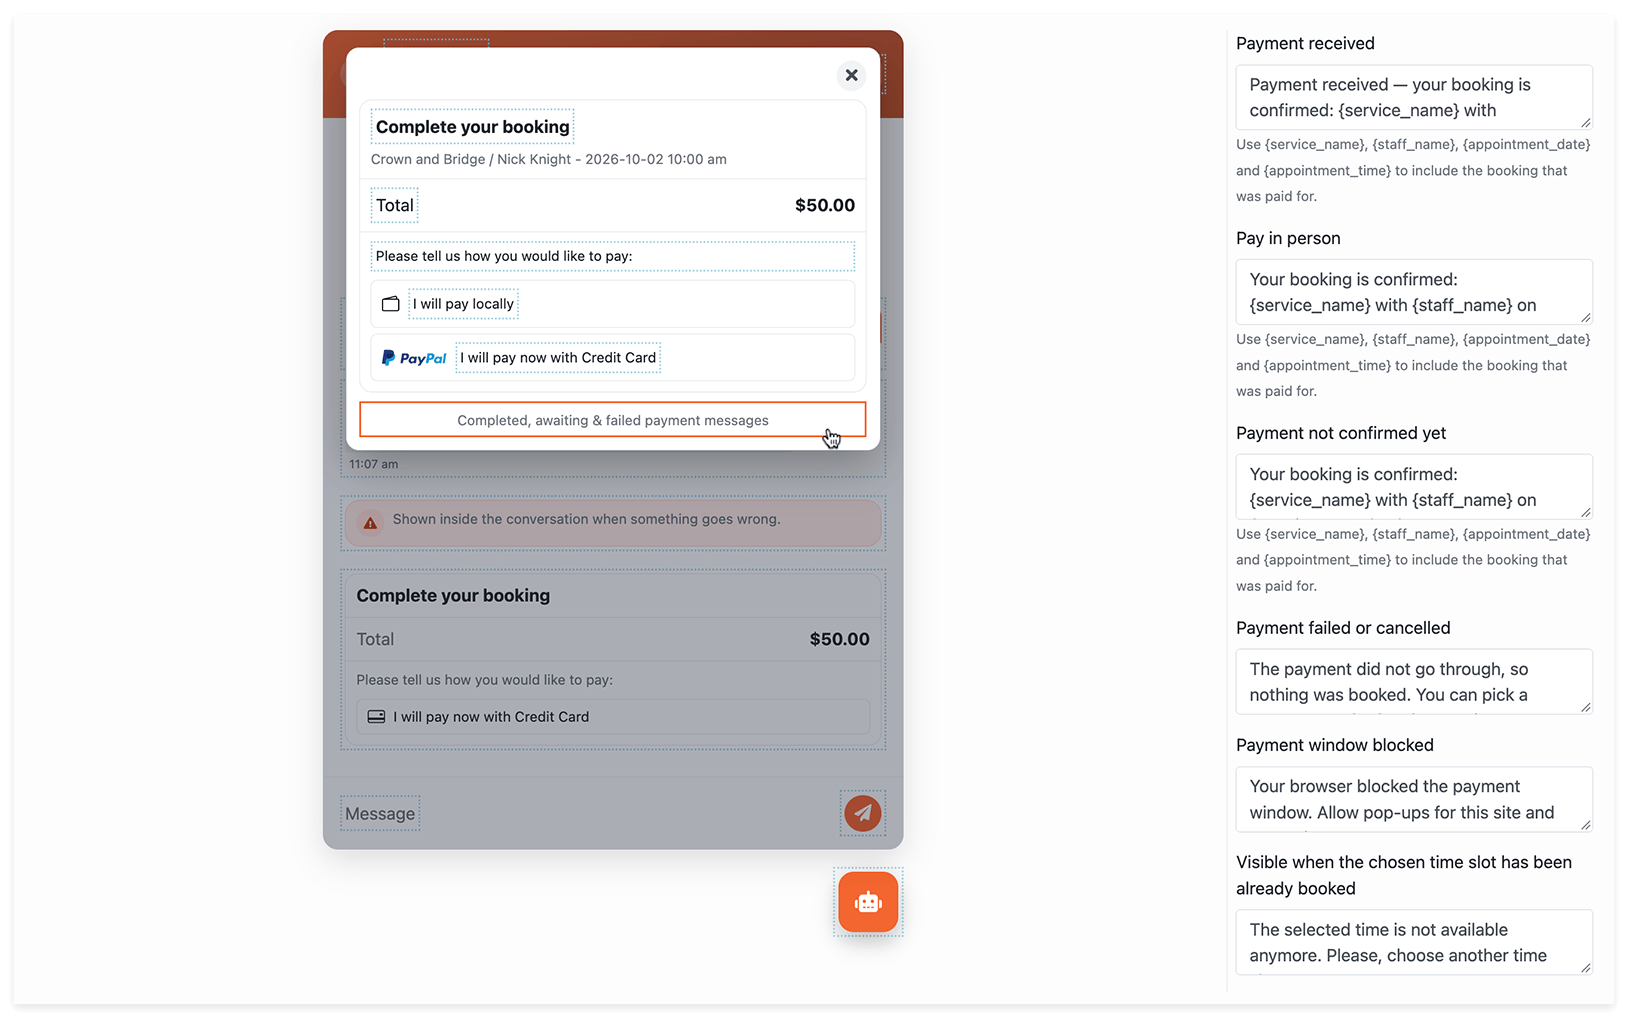
Section titled “Payments”Customers can review their booking and total, then choose an enabled payment option, including paying in person.
With Bookly Pro, WooCommerce is also available as a separate payment method in the AI Assistant booking form. See WooCommerce integration.
In the form settings, you can customize payment labels and messages for successful payments, payments awaiting confirmation, failed or cancelled payments, and paying in person. Use placeholders to include booking details such as the service, staff member, date, and time.
How to set up AI Assistant
Section titled “How to set up AI Assistant”Getting started requires only a few steps:
1. Activate AI Assistant in your Bookly Cloud account.
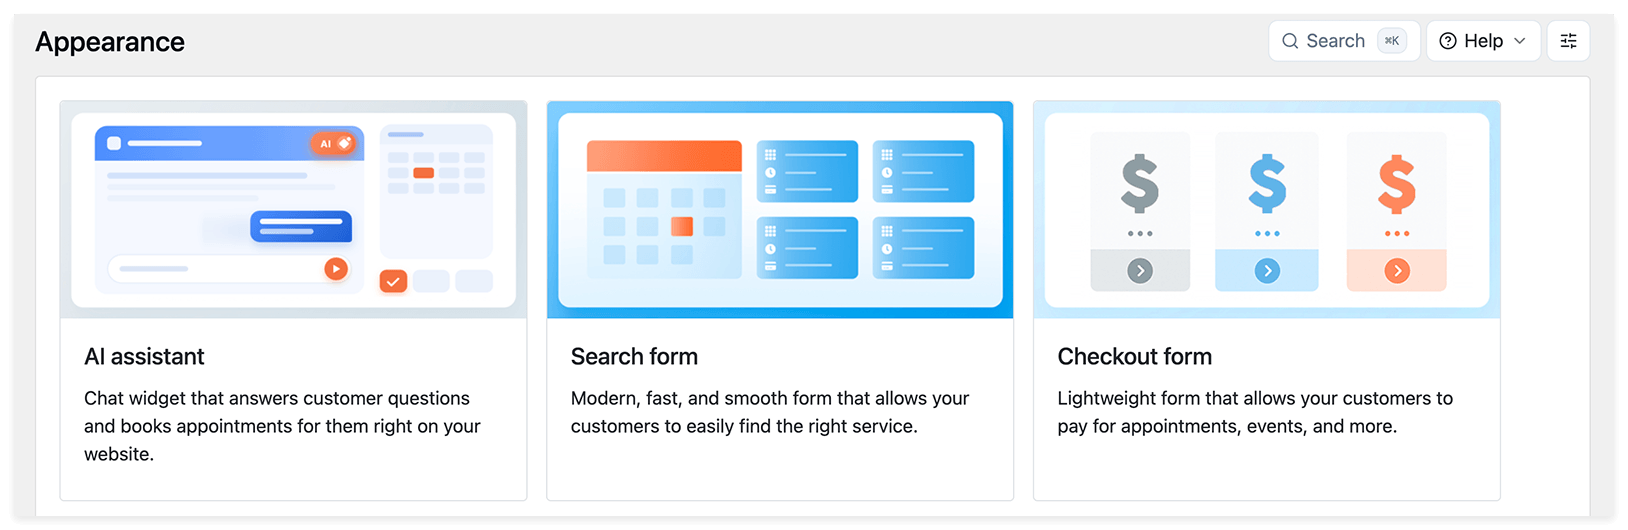
2. In Bookly, go to Appearance → AI Assistant and create a new form.
3. Configure the form appearance and text. Use What the assistant should know to add business information or instructions for the Assistant, then save your changes.
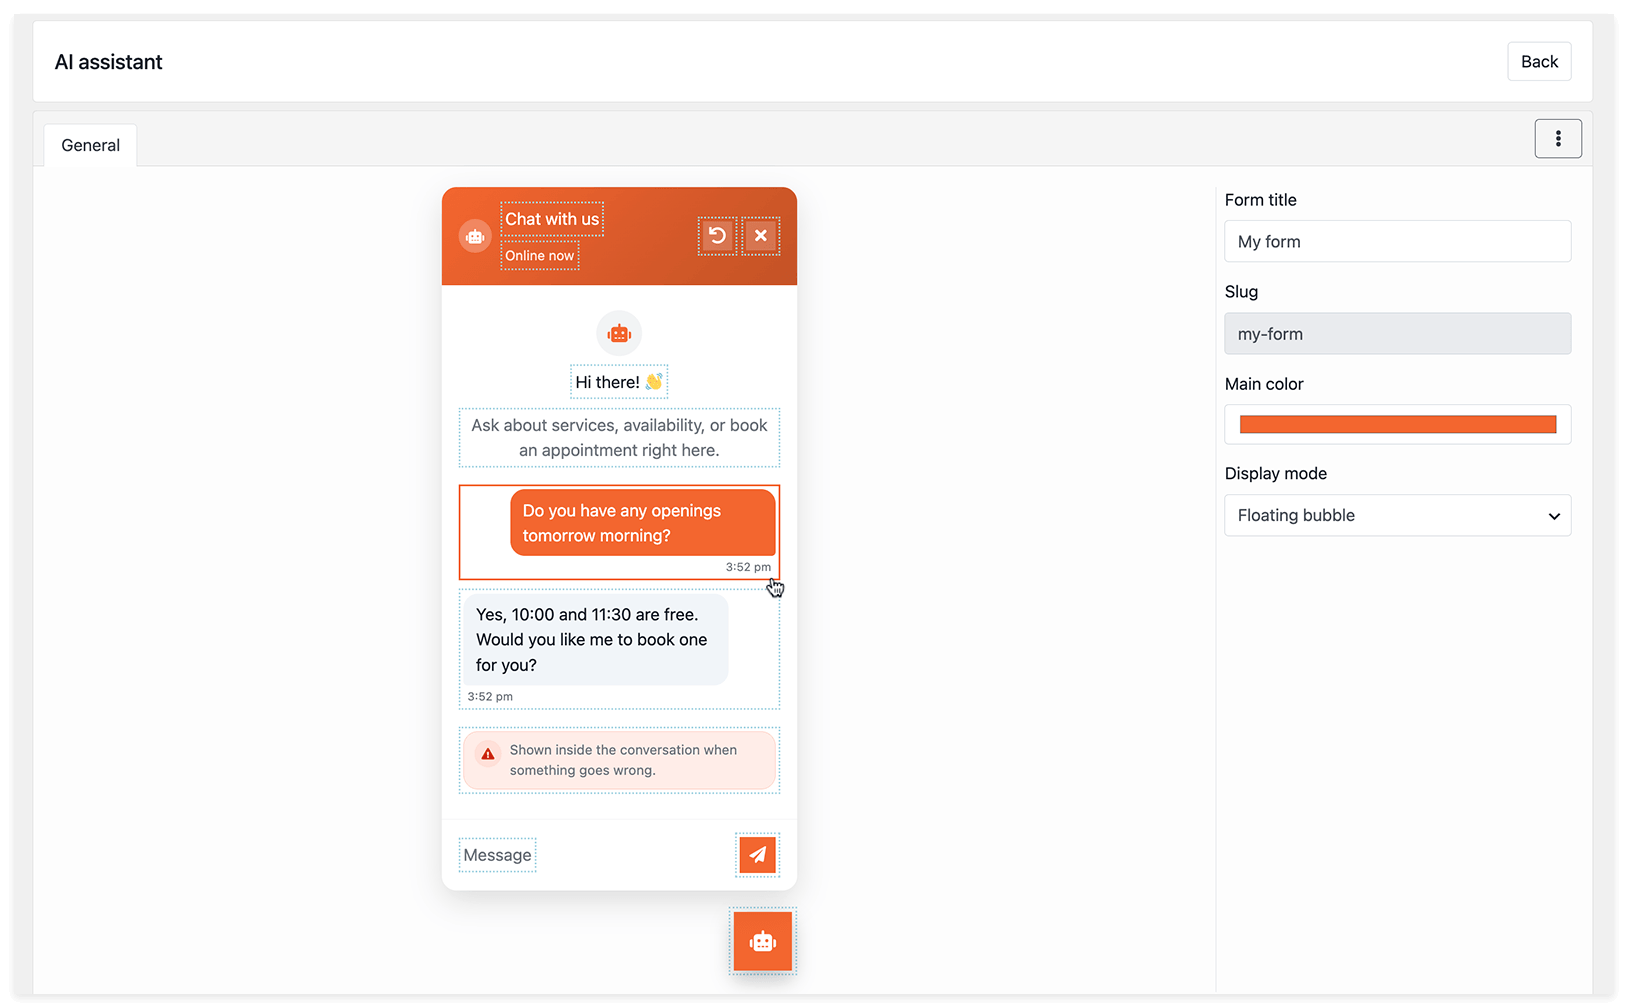
4. Click Back to return to the list of forms. Then copy the form shortcode and paste it into the desired page on your website.
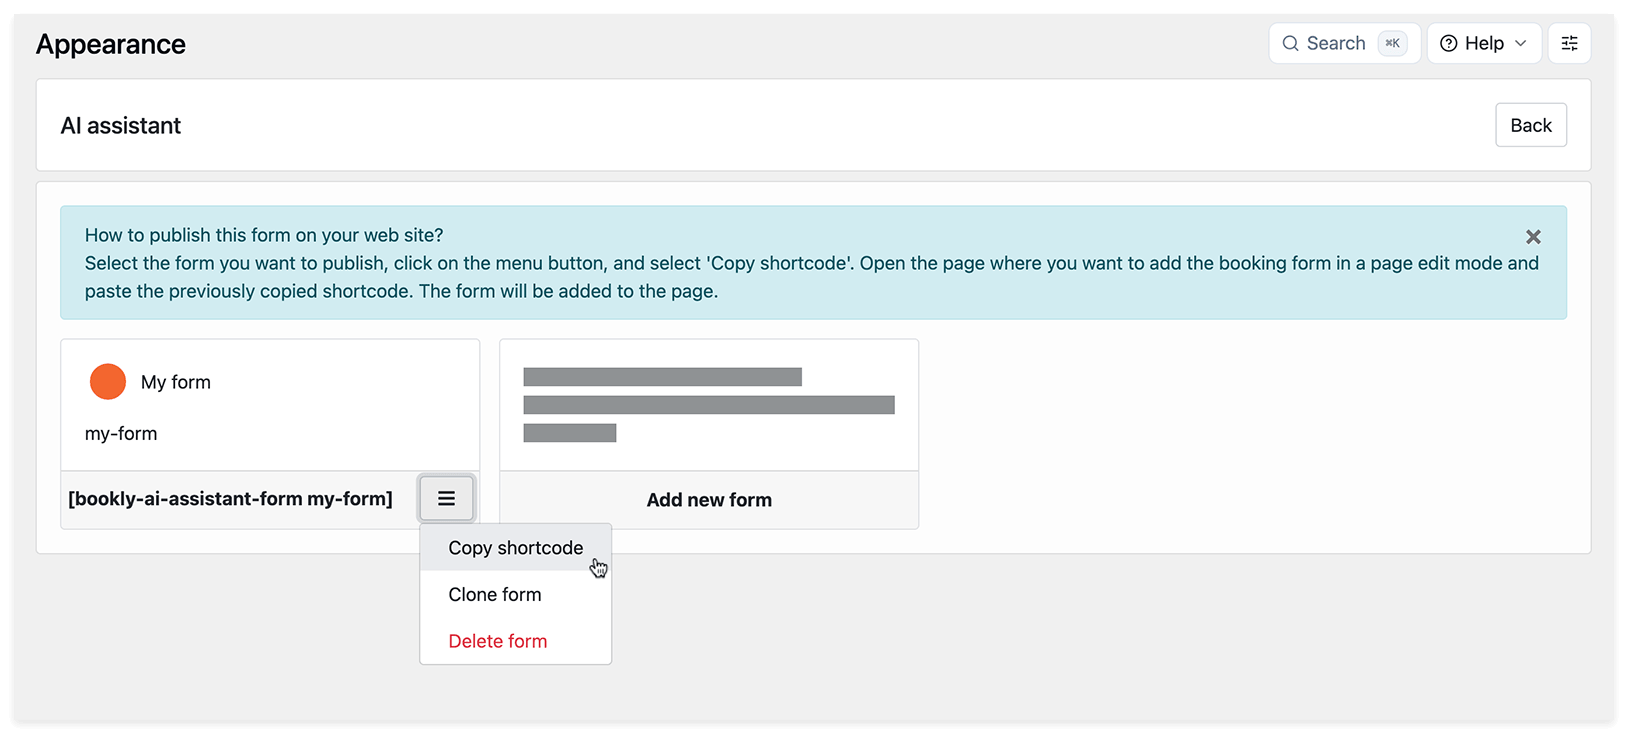
Your AI Assistant is now ready to interact with customers and accept bookings.
Display modes
Section titled “Display modes”AI Assistant can appear on your website in two modes:
Embedded
Section titled “Embedded”The chat is displayed directly in the selected area of the page. Use this mode for dedicated booking, service, or contact pages.
Floating bubble
Section titled “Floating bubble”The Assistant appears as a button at the bottom of the screen. Visitors can open the chat while browsing your website, without taking up space in the page content.
Form customization
Section titled “Form customization”You can customize the AI Assistant form to match your website and communication style.
To edit text, such as welcome message or error messages, click the corresponding area in the form preview. Edit the text, then save your changes.
Form title — the title shown in the chat interface
Welcome message — the first message customers see when they open the chat
What the assistant should know — business context the Assistant can use when answering customers, such as arrival instructions or additional service information.
Error messages — messages shown when the Assistant cannot complete a request or an error occurs
Interface texts and tooltips — labels, hints, and other chat interface text